
There has been a lot of recent discussion on the importance of keeping bios and firmware up to date on client computers. I have also found it is important to maintain consistency across devices for bios settings. I utilize HP’s BIOS Configuration Utility (BCU) during OSD/IPU to ensure consistency. The following post will detail how I create a reference config, then apply that config during OSD/IPU.
The BCU can be used from within full Windows, or from WinPE. Extracting the BCU softpaq download results in the following files. I deploy Windows 10 x64 in our environment, and also use WinPE x64 during OSD, therefore I use BiosConfigUtility64.exe. If you have a BIOS password set (which you should IMHO), you will also need HPQPswd64.exe to generate an encrypted bin file containing the BIOS password. In my environment, I have a package for each model. Being that the config files are small text files, you could use one package for each model if you choose.

Steps:
1. Create a folder in your ConfigMgr sources, and copy BiosConfigUtility64.exe there.
2. Using HPQPswd64.exe, create a bin file containing the BIOS password you’ve configured for your system. If you currently do not have a password configured, you will use this file to set the password in a later step. Copy the bin file to the same source as BiosConfigUtility64.exe.
3. For each model in your environment, configure a reference BIOS with all intended settings by hitting F10 during boot.
4. Boot back into Windows, and run the following command to capture the current BIOS config from the reference system. I name the configuration file with a unique name for each model. I use a .config extension to make it stand out from other files. You can use anything you like as it is merely a text file. The encrypted bin file is needed if you have a password configured. Otherwise, omit the /cpwdfile switch in the command.
BiosConfigUtility64.exe /get:800G1.config /cpwdfile:pwd1.bin
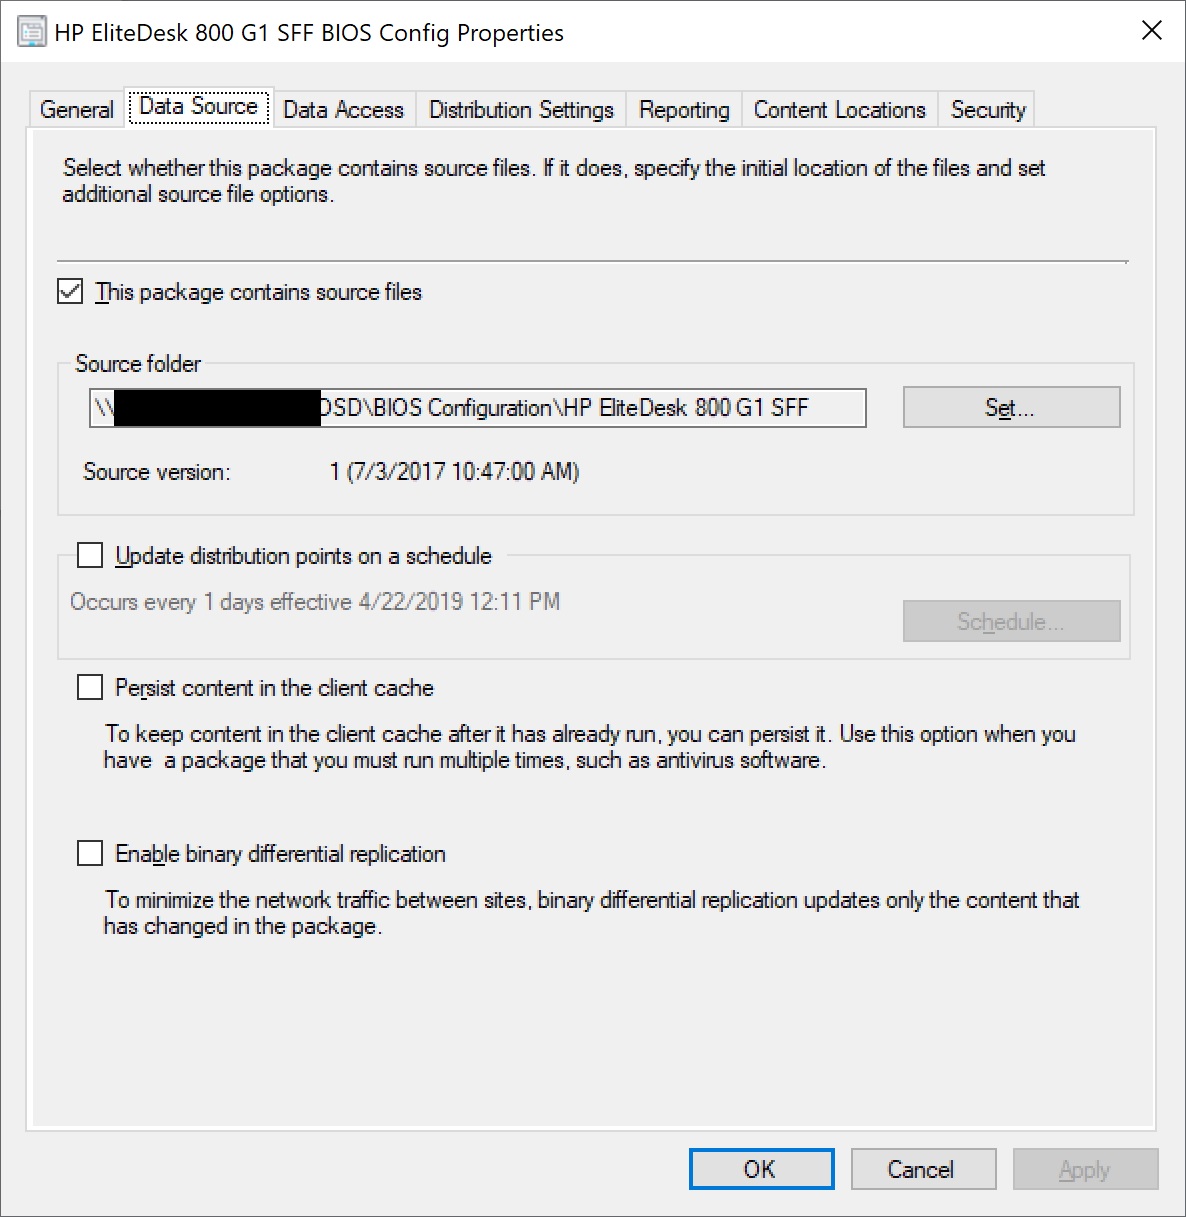
5. You should now have a ConfigMgr source folder containing BiosConfigUtility64.exe, a password bin file, and a .config configuration file. Repeat the process for additional models if you like, or create a separate source folder for each model. Create a package without a program with your folder as the source folder.
6. Now, the package is ready to be used within a task sequence. You can use this within WinPE, or after the FullOS is loaded. The following command will set the BIOS config based off of your reference .config file. The /cpwdfile switch is used in case you have a password set. If you don’t have a password set, the /npwdfile switch will set it. A WMI query is used to determine the correct model. Note that ‘Continue on error’ is selected on the options tab. The command will have a failure return code as you are attempting to set readonly settings with the config reference file. The ‘Continue on error’ option will ignore the error and continue with the task sequence. I haven’t looked into the logs, but I am guessing you could find the appropriate return codes and add them to the options tab if you choose.
BiosConfigUtility64.exe /set:800G1.config /cpwdfile:pwd1.bin /npwdfile:pwd1.bin


Conclusion: Overall, I have had success using this method for bare metal OSD as well as in place upgrades (Windows 10 build to build only, not upgrading from older OS versions). I know a lot of people on Twitter have worked extensively on BIOS to UEFI conversions (@gwblok, @miketerrill). We are all UEFI at this time and never automated changing for wipe and load or IPU. I would also like to research ways to create a ConfigMgr CI/CB to remediate existing machines, but I am not sure at the time of this writing how that would all work. Feel free to submit comment should you have questions!

Hi there Ryan,
Are your aware of Michael Hex’ excellent BIOS Sledgehammer framework? It’s not supported for WinPE but only because the ME firmware update tool doesn’t work unless it’s in full OS. Leave that out and it works beautifully. And you can use it for compliance as well.
https://github.com/texhex/BiosSledgehammer
LikeLike
Hello,
I had not seen the sledgehammer solution previously, thanks for the link! It looks like quite a bit of work has gone into that solution, which is great to see. I think HP has seen end users solutions and is working to make this easier on everyone.
LikeLike
I acknowledge HP’s efforts through their client management tools. Though it lacks support for legacy HW models, still young enough to be under warranty. TPM upgrades in particular were a real PITA for me. I used Michael’s Sledgehammer script and I modified HP’s CIs in SCCM to work with older versions. A bit of work involved, but it got me to the finish line!
I do like their BIOS configuration enforcement through SCCM.
LikeLike
Hi! If you use a userexit script to set the model names to something to something simple e.g. 800G1 and save all your files into the same folder where BiosConfigUtility64.exe is you are able to call BiosConfigUtility64.exe /set:%ModelAlias%.config /cpwdfile:pwd1.bin. That way you are able to config all your devices with only one single package.
LikeLike
That would be a nice change to simplify task sequences for those that have a lot of models. It wouldn’t add too much to the package as the config files are quite small. Nice tip!
LikeLike